联系作者

# 4.1 React-Router(1)
# 4.1.1 安装
- react-router 路由核心功能
- react-router-dom 基于React-router,加入了一些在浏览器运行下的一些功能
React-router-dom依赖于react-router,所以我们不用主动安装React-router,只需安装React-router-dom即可
yarn add react-router-dom
# 4.1.2 编写路由
# React-router-dom提供的路由组件
- BrowserRouter(history模式,这种模式需要后端配合)
http://blog.youliaowu.com/react/react-positive
- hashRouter(hash模式)
http://blog.youliaowu.com/react/#/react-positive
# 案例
用BrowserRouter进行包裹,并通过组件树传递下去
Route(路由)路由的出口,对应不同url,检测不同的url去渲染不同的组件
// 在app.js中导入BrowserRouter组件和Route组件
import React,{Component} from 'react';
import { BrowserRouter,Route} from 'react-router-dom';
import Products from './components/products'
import Admin from './components/admin'
import Home from './components/home'
class App extends Component {
  render(){
    return (
        <BrowserRouter>
            <Route path='/products' component={Products}/>
            <Route path='/admin' component={Admin}/>
            <Route path='/' component={Home}/>
        </BrowserRouter>
    )
  }
}
2
3
4
5
6
7
8
9
10
11
12
13
14
15
16
17
上面的写法会有一个问题,就是我们跳转到products或admin路由下都会显示home这个组件的内容,其实这个路由匹配带来的问题,home组件的路由/会被多次匹配到
解决方法1
用exact标记,表示完全匹配,也就是说只有Link(Link下面会介绍)中to属性的值和path的值完全相同,那么才算匹配成功
class App extends Component {
  render(){
    return (
        <BrowserRouter>
            <Route path='/products' component={Products}/>
            <Route path='/admin' component={Admin}/>
            <Route path='/' exact component={Home}/>
        </BrowserRouter>
    )
  }
}
2
3
4
5
6
7
8
9
10
11
解决方法2
用Switch组件包裹router组件,表示只匹配一个路由,匹配成功后就不在进行匹配
import React,{Component} from 'react';
import { BrowserRouter,Route,Switch} from 'react-router-dom';
import Products from './components/products'
import Admin from './components/admin'
import Home from './components/home'
class App extends Component {
  render(){
    return (
        <BrowserRouter>
            <Switch>
                <Route path='/products' component={Products}/>
                <Route path='/admin' component={Admin}/>
                <Route path='/' component={Home}/>
            </Switch>
        </BrowserRouter>
    )
  }
}
2
3
4
5
6
7
8
9
10
11
12
13
14
15
16
17
18
# 用Link组件跳转不同的路由
Link路由的入口,通过to属性来指定跳转的路由,这个值与route的path相对应
import React from 'react';
import { Link } from 'react-router-dom';
const NavBar=()=>{
    return (
        <ul>
            <li>
            {/* 渲染后是a标签,但用Link组件会阻止默认行为*/}
                <Link to='/'>home</Link>
                <Link to='/products'>products</Link>
                <Link to='/admin'>admin</Link>
            </li>
        </ul>
    )
}
export default NavBar
2
3
4
5
6
7
8
9
10
11
12
13
14
15
16
# 4.1.3 Route匹配
- Route
比较path属性和当前地址的pathName,当一个<Route>匹配成功,它将渲染其内容;当它不匹配时就会渲染null。
- Switch
一个<Switch>会遍历其所有的子<Route>元素,并仅渲染与当前地址匹配的第一个元素
- Link
使用<Link>作为url的导航,让整个应用不刷新页面在不同网址之间切换
# 4.2 React-Router(2)
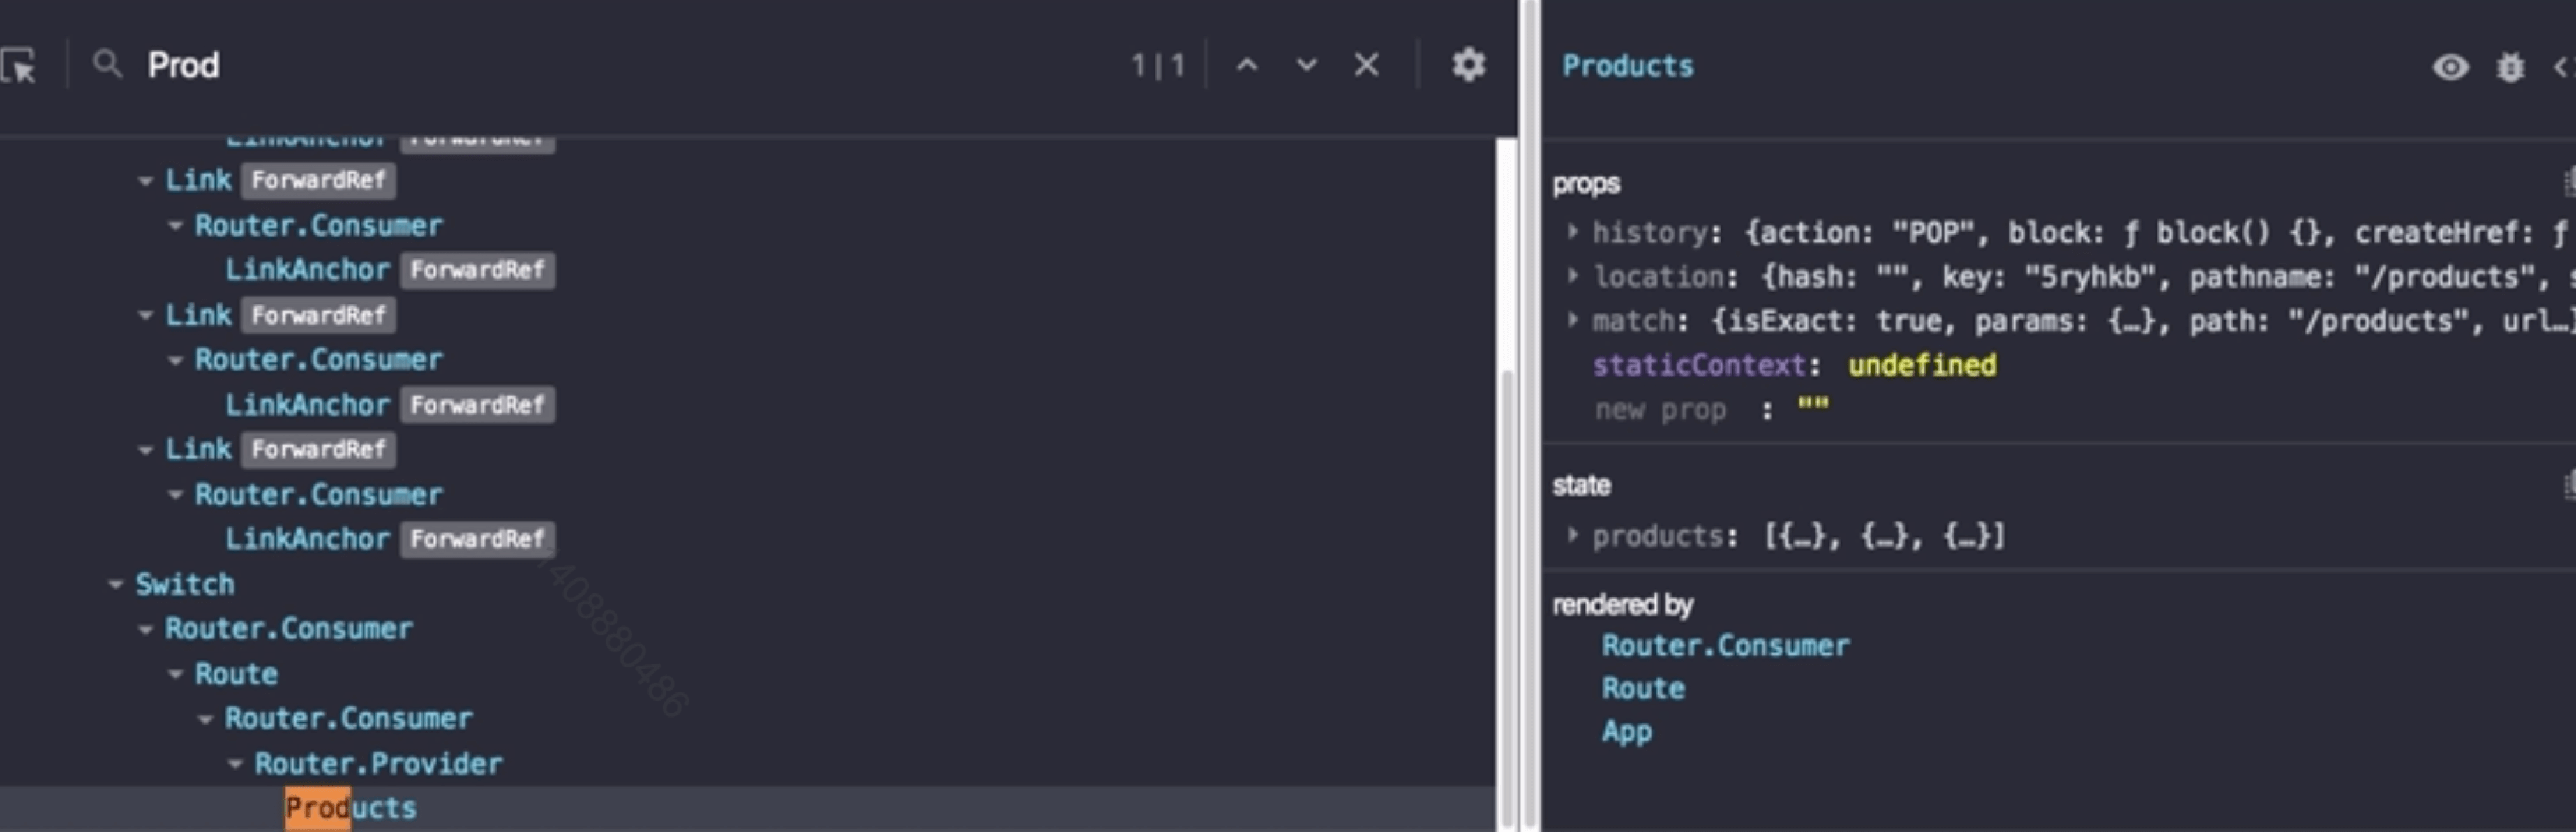
# 4.2.1 route的props属性
路由组件会被默认注入三个属性history、location、match
- history
路由导航,提供了go、goBack、goForward、push、replace等方法
- location
代表当前的地址,可以在这个对象获取query参数
- match
包含如何匹配路由信息,可以获取Params
# 4.2.2 路由页面之间传参
# 1.动态路由的方式
设置动态路由
import React,{Component} from 'react';
import { BrowserRouter,Route,Switch} from 'react-router-dom';
import Products from './components/products'
import Admin from './components/admin'
import Home from './components/home'
class App extends Component {
  render(){
    return (
        <BrowserRouter>
            <Switch>
                 {/* 示例1,设置单个动态路由 */}
                <Route path='/products/:id' component={Products}/>
                  {/* 示例2,设置多个动态路由 */}
                <Route path='/products/:id/:year' component={Products}/>
                 {/* 示例3,?表示year这个路由路径可选 */}
                <Route path='/products/:id/:year?' component={Products}/>
            </Switch>
        </BrowserRouter>
    )
  }
}
2
3
4
5
6
7
8
9
10
11
12
13
14
15
16
17
18
19
20
21
跳转到Products页面
const NavBar=()=>{
    return (
        <ul>
            <li>
                  {/* 示例1 */}
                <Link to={`/products/${1}`}>products</Link>
                  {/* 示例2 */}
                <Link to={`/products/${1}/${2020}`}>products</Link>
                 {/* 示例3 ,第二参数可以有也可以没有*/}
                <Link to={`/products/${1}/${2020}`}>products</Link>
            </li>
        </ul>
    )
}
}
2
3
4
5
6
7
8
9
10
11
12
13
14
15
在Products页面获取route参数
import React,{Component} from 'react';
class Products extends Component {
  render(){
    return (
        <div>
            {/* 拿到params对象,this.props.match.params*/}
             {/* 示例1 */}
            <h1>{this.props.match.params.id}</h1>
             {/* 示例2 */}
             <h1>{this.props.match.params.year}</h1>
        </div>
    )
  }
}
// or 函数示组件
const Products=({match})=>{
      return (
        <div>
            {/* 拿到params对象,this.props.match.params*/}s
             {/* 示例1 */}
            <h1>{match.params.id}</h1>
             {/* 示例2 */}
             <h1>{match.params.year}</h1>
        </div>
    )
}
2
3
4
5
6
7
8
9
10
11
12
13
14
15
16
17
18
19
20
21
22
23
24
25
26
27
# 2.queryString的方式
跳转到Products页面
const NavBar=()=>{
    return (
        <ul>
            <li>
                  {/* 示例1 */}
                <Link to={`/products?id=1`}>products</Link>
            </li>
        </ul>
    )
}
}
2
3
4
5
6
7
8
9
10
11
在Products页面获取?后的参数
可以在props.location.serach中获取参数,不过这个参数需要我们自己序列化出来,默认是?id=1这样的形式,我们可以自己写方法解析出来,也可以用第三方库query-string,下面我们用这个库去序列化。
import React,{Component} from 'react';
import queryString from 'query-string'
class Products extends Component {
  render(){
      const parsed=queryString(this.props.location.search)
    return (
        <div>
             {/* 示例1 */}
            <h1>{parsed.id}</h1>
        </div>
    )
  }
}
// or 函数示组件
const Products=({location})=>{
      const parsed=queryString(location)
      return (
        <div>
             {/* 示例1 */}
            <h1>{parsed.id}</h1>
        </div>
    )
}
2
3
4
5
6
7
8
9
10
11
12
13
14
15
16
17
18
19
20
21
22
23
24
25
# 4.2.3 重定向功能
import React,{Component} from 'react';
import { BrowserRouter,Route,Switch,Redirect} from 'react-router-dom';
import Products from './components/products'
import Admin from './components/admin'
import Home from './components/home'
import NotFound from './components/NotFound'
class App extends Component {
  render(){
    return (
        <BrowserRouter>
            <Switch>
                <Route path='/products:id' component={Products}/>
                <Route path='/admin' component={Admin}/>
                  {/* 如果用户在地址栏输入login,就重定向到NotFound页面*/}
                <Redirect from='/login' to='/not-found'/>
                <Route path='/not-found' component={NotFound}/>
                 {/* exact表示精准匹配*/}
                <Route path='/' exact component={Home}/>
                {/*如果都没有匹配到就跳转到NotFound页面*/}
                <Redirect to='/not-found'/>
            </Switch>
        </BrowserRouter>
    )
  }
}
2
3
4
5
6
7
8
9
10
11
12
13
14
15
16
17
18
19
20
21
22
23
24
25
# 4.2.4 导航处理
导航实现跳转
import React,{Component} from 'react';
class NavBar extends Component {
    handleSale=()=>{
        // push方法会向浏览器中历史记录中添加一条记录
        this.props.history.push('/products?id=1')
        // or
        // repalce将当前的记录指定我们的一个路径
        this.props.history.replace('/products?id=1')
    }
    render(){
     return (
        <ul>
            <li onClick={this.handleSale}></li>
        </ul>
     )
    }
}
2
3
4
5
6
7
8
9
10
11
12
13
14
15
16
17
# 4.2.5 回顾
- Route
定义一个匹配,在匹配时渲染相应的组件
- Switch
仅渲染与当前地址匹配的第一个元素
- Route Props
使用render props方案传递路由参数
- Route参数
在path中定义参数格式,在props match对象中获取参数
- Query string
使用第三方插件获取url中的参数
- 导航处理
通过puch或replace方法来处理浏览器历史记录
# 4.2.6 扩展
# 4.3 Ant Design
# 4.3.1 安装与使用
安装
yarn add antd
在项目中使用
    import React from 'react';
    import 'antd/dist/antd.css';
    import {Button} from 'antd'
    const MyAntd = () => {
        return ( <div>
                    <Button type='primary'>按钮</Button>
            </div> );
    }
    export default MyAntd;
2
3
4
5
6
7
8
9
按需加载
安装 babel-plugin-import插件
yarn  add babel-plugin-import --dev

在.babelrc配置以下
{
    "presets": [
        "react-app"
      ],
    "plugins":[
        ["import", { "libraryName": "antd", "libraryDirectory": "es", "style": "css" }]
    ]
}

或者在package.json配置以下(与上面配置二选其一)
  "babel": {
    "presets": [
      "react-app"
    ],
     "plugins":[
        ["import", { "libraryName": "antd", "libraryDirectory": "es", "style": "css" }]
    ]
  }
2
3
4
5
6
7
8
9
10
11
12
13
14
15
16
17
18
19
20
21
22
# 4.3.2 Ant生态
- DvaJS
基于redux轻量数据流
- UmiJs
可插拔企业级应用级插件,进阶版create-react-app
- ant design pro
进阶版ant design,提供一整套ui方法
- ant motion
动画库
- Antv
数据可视化